Monday, October 31, 2011

Day 4-Practice Practice Practice

In the picture above, I am comparing a work-in-progress reed to a completed reed that I know can play.  I highly recommend having a completed example reed in order to compare where your work-in-progress reed is, and gauge how much further you need to scrape.

I was mainly focused on scraping the tip of my reed today, because it needed to be much thinner before I cut it.

I scrape with a Mark Chudnow Woodwinds knife.  However, if you go to www.forrestsmusic.com they have many reed making tools that you can pick and choose from.

How I scrape:  I am right-handed.  Therefore, I hold the handle of my knife in my right hand.   My right index finger is resting lightly on the sharp part of my knife.  If my left hand, I push my thumb into the smooth side of the knife, and rock my right wrist back and forth.  I hold the reed with the crook of my left index finger.

I don't like scraping on completely dry cane, so I make sure that I have a small water container next to wear I'm working. This way I can ensure that I periodically wet my reed.  I find that if my reed is not at least slightly damp, there's a higher likelihood that it will crack, and you never want that to happen.

-Julia

Day 4 - More Pointers

Today marks the fourth day of the Google Project. Julia and I chose to spend our time scraping and finishing up previous reeds and made a failed attempt at tying a blank. The following are some more pointers on making the blank: 


Soaking the cane for the blank as well as an unfinished reed.  I cannot stress how important it is to make sure the cane is soaked before tying a blank, and before scraping. It helps to have some sort of water container handy to periodically dip reeds/cane in.  
In order to tie a blank, the string must be tied securely to some  sort of object (we used the band locker this time). At home, I personally use a clamp that can be easily fastened to a desk, like the one shown below. 


The string should be held taut at all times. It is okay to adjust the cane on the staple when tying, just make sure that it is in line with the staple and that the right overlaps the left.
Pulling the string tightly on the first three wraps is extremely important. 

As shown above, the reed did not close completely on both sides. In a case like this, you should not be discouraged and try to adjust the cane so that both sides are completely closed.

-Olivia 

Wednesday, October 26, 2011

Reminders

As you're going through the first steps to making an oboe reed (congratulations!  Keep up the good work!) here are some things you want to keep in mind:

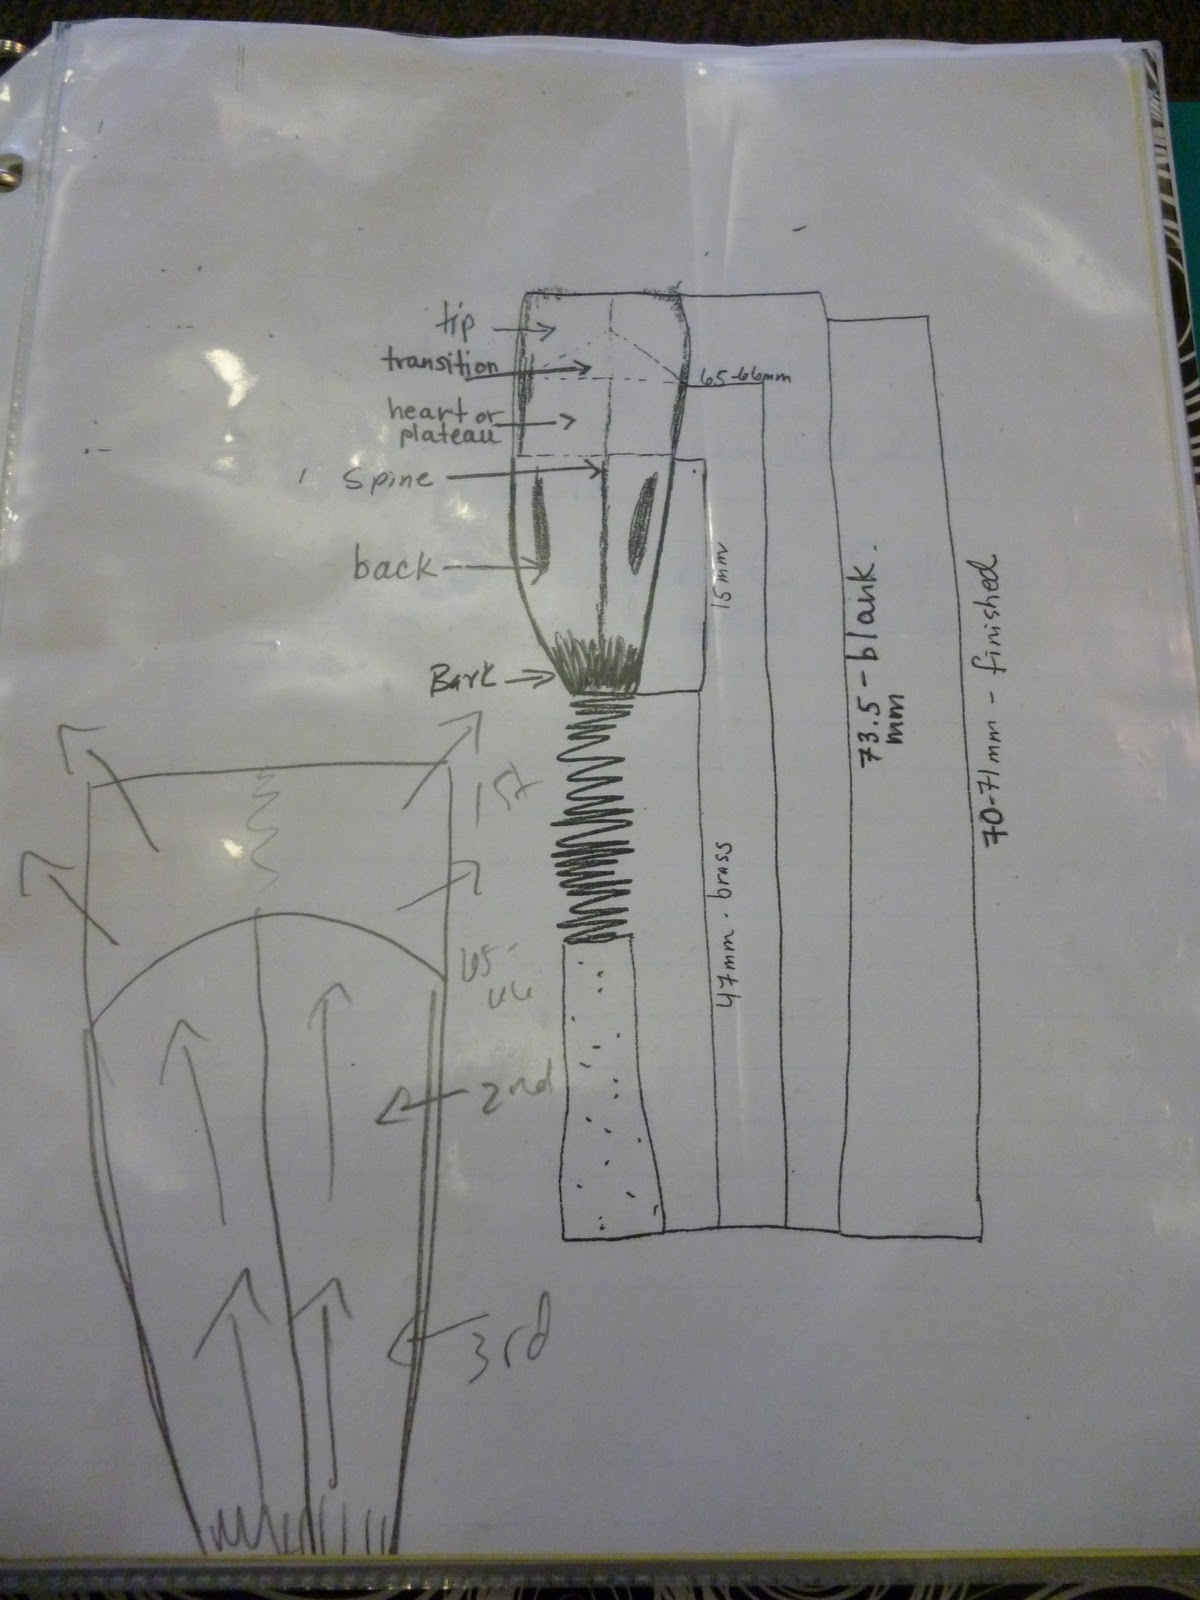
1. Feel free to mark up your reed.  Use a pencil and trace where you want to scrape, keeping in mind that you want a good heart, tip, and sides.

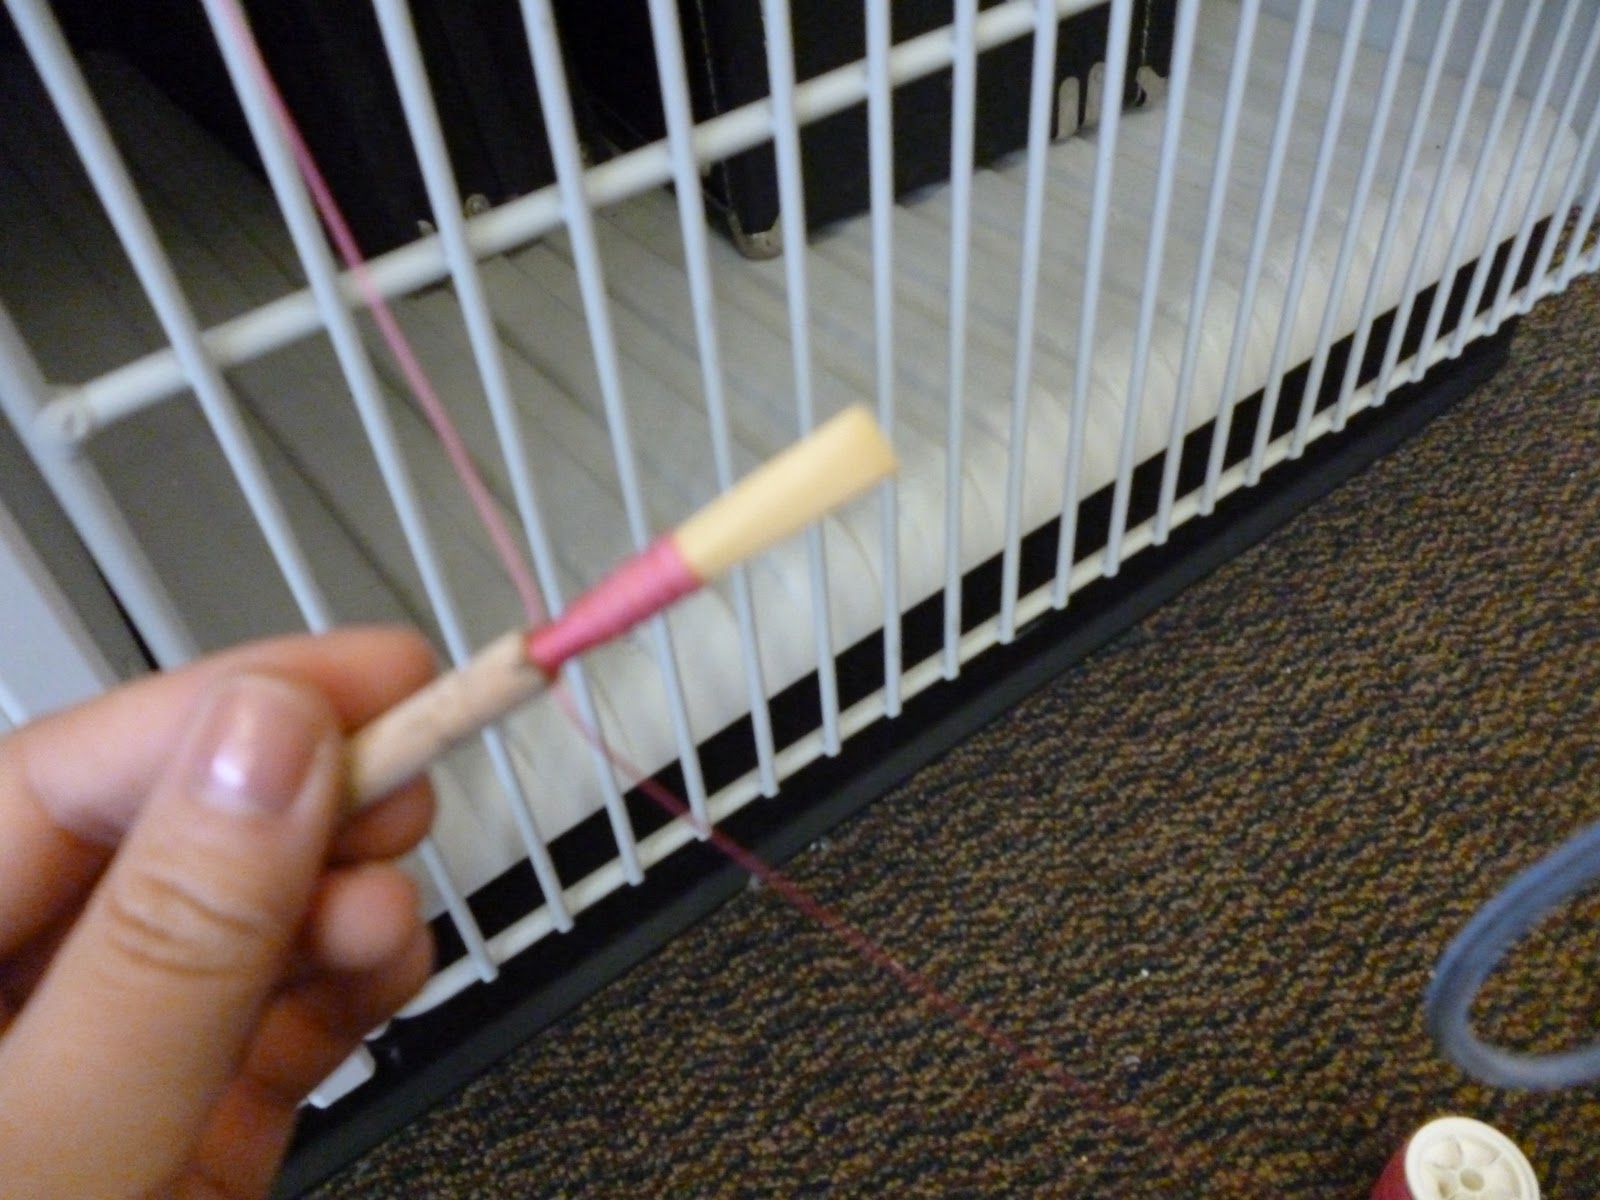
2. When you're tying your cane onto the staple, make sure the string is tight.  If it's too loose, your cane will not stay in place, and your reed is now useless.

3. If you're confused about something, look it up on Youtube or Google.  Olivia and I will do our best to explain the process of making a reed, but nothing quite compares to actually seeing a person completing the steps first-hand.

4. Understand that practice makes perfect.  Even the principal oboist of the New York Philharmonic has made some lousy reeds in their lifetime!  Not every reed is going to come out the way you want it to, especially in the beginning.  Be aware of this fact from the get-go.  Then if you do make a mistake, recognize what you did incorrectly and be aware of not letting that happen the next time you're making a reed.  Don't get discouraged, and keep up the good work!

-Julia

Wednesday, October 19, 2011

Cutting the Tip: Part II

As Olivia mentioned before, it is extremely important to measure your reed before you cut the tip!
Then make a mark where you wish to cut.

It's a good idea to have a completed reed to compare your work-in-progress reed to, so that you can see how they line up and where else you need to scrape.
If you don't soak your reed, when you try to cut the tip your cane will crack!  Trust me, I learned the hard way.
Carefully line up your razor blade along the pencil mark.  Be sure to cut in a straight line.  Only take off a little bit of the tip.
Like Olivia mentioned before, hold your reed at an angle and rock the razor blade back and forth firmly, until you've successfully cut off the tip.
As you can see, my cut was very straight, so I then went back and straightened out my line.
Ta-da!  You now have an open reed!
Once you've cut off the very top part of your reed, you're free to begin scraping on your reed again. 
-Julia

Cutting the Tip: Part I

Materials needed for today: Measuring ruler, blanks, pencil, knife, cutting block, and razor blade
The picture above is a diagram of the typical reed. A tied blank should be around 73.5 mm, and the finished reed should be 70-71 mm. After all the scraping on the tip, heart, and back is done, the tip can then be cut. 

It is important to make sure the reed is soaked before cutting the tip & scraping the reed. 

Julia measuring her blank before cutting. It is a good idea to lightly mark the measurements with a pencil before cutting!


The cutting block is shown above. When cutting the tip, you should hold the reed at a slight angle & rock the blade back and forth to ensure that it has cut all the way through. You can always cut more than once, making sure to cut only a very small amount of the reed.


-Olivia


Wednesday, October 5, 2011

Tying Blanks! Part II

Here I am, tying my reed.  You want to start so that you're almost at the end of the metal part of the staple.  Go around the reed three times until you reach the end of the staple, and then cross your string back over and tie down to the end of your staple.  Make sure you're pulling the string tight the whole time!
Once you've reached the bottom of your staple, tie three knots where your string ends so that it won't unravel.
My tied reed!  I'm a beginner, too.  Trust me, my reed is not perfect.  Practice practice practice!
Olivia's tied reed!  It's really fun to get pretty reed thread.  It just brings a smile to your face.

In this step of the process, you first want to scrap all of the bark (shiny stuff) off the cane.  Then you want to focus mainly  on maintaining a spine by scraping in the windows, avoiding the rails, and carefully scraping the heart and tip.

Now we start to scrape....
and scrape....
and scrape!

-Julia

Tying Blanks! Part I

Working on reeds on the couch! 

Julia beeswaxing the string so it doesn't slip when tying the reed
Up close look at the beeswax

Cane must soak in water for about 15 minutes before you can start tying! Or until the cane sinks in the water
Cane soaking in water
Julia :) 
Julia measuring the cane from base of staple. Finished blank should be around 73.5 mm.
String must be attached to something stable and should always be taut when tying.
-Olivia