Monday, December 12, 2011

Finished Photos

Here are some pictures of finished reeds that have been tied, scraped, and tested but can still be adjusted. As Julia mentioned before, test the reed on your oboe to see where it needs adjustments- it helps to play octaves to see if they are in tune. If the reed is too hard, consider taking more off the back. Also, make sure that the reed looks the same on both sides- everything should look identical or at the least very similar. 


-Julia & Olivia

Wednesday, December 7, 2011

Finishing Your Reed!

Once you have scraped till the the tip of your reed is able to vibrate and you can hear a crow on your reed, it's time for the moment of truth: testing the reed.  Get out your oboe and let the reed soak for about 2 minutes in room temperature water (if it has dried out).  Place the reed in your oboe and simply play a scale, or whatever you wish to warm up and test the reed.  Make sure you have a tuner with you.  If the reed is too sharp, go ahead and keep scraping on it.  Be careful not to take off too much however.  If the reed is too flat, cut off a minuscule amount from the tip.  If you find yourself cutting off more than 1/4 of an inch off the tip, chances are it won't get any better and you will most likely have to play on a new reed.

A Completed Oboe Reed


I hope that all of your reeds play well and in tune :)

Good luck with all of your oboe endeavors,

Julia

Tuesday, November 15, 2011

Blanks & Video- Tying

Two blanks I tied at my lesson on Saturday! Will start scraping  these so they can vibrate. 

Julia working on her reed, scraping and listening to some music :)

Julia's box of reed supplies! Reed case, string, staples, etc.


Video- Tying a blank, make sure string is held tight and both sides of reed close when tightening first three wraps. First three wraps should not be committed yet, but rather just to hold the cane in place. Remember to adjust as you go along, and make sure everything is in align with the mandrel and staple. 

-Olivia

Monday, November 14, 2011

Scraping & Video


This is a completed reed that I made a few months ago.  It actually plays!   This reed took a lot of hard work and dedication, and now I use it as an example reed to look at when I need to see how many steps I need to complete on a work-in-progress reed.

As Olivia and I mentioned earlier, be sure to slightly push your thumb into your knife,  to ensure that you're actually scraping cane off of the reed.  Don't apply too much pressure though!


A video of me scraping . . . as you can see, scraping becomes quite tedious after a while, but it's important that you stay focused the entire time.  You'll be done before you know it, and then you'll feel proud about your new reed.
Enjoy! 
(Please ignore the background noise-this video was filmed at school.)

-Julia

Friday, November 4, 2011

Where to Purchase - Supplies

Most oboe reed making supplies can be purchased online, and in the past my teacher Karen has suggested several sites that she recommends and purchases from herself. If you are just beginning to make reeds and don't have any reed supplies at all, many sites sell reed making kits that come with all the supplies needed (knife, plaque, spool, etc). The following are some sites that I have purchased from in the past: 

This is where I have purchased the majority of my supplies - plaques, mandrel, cutting block, cane and beeswax 

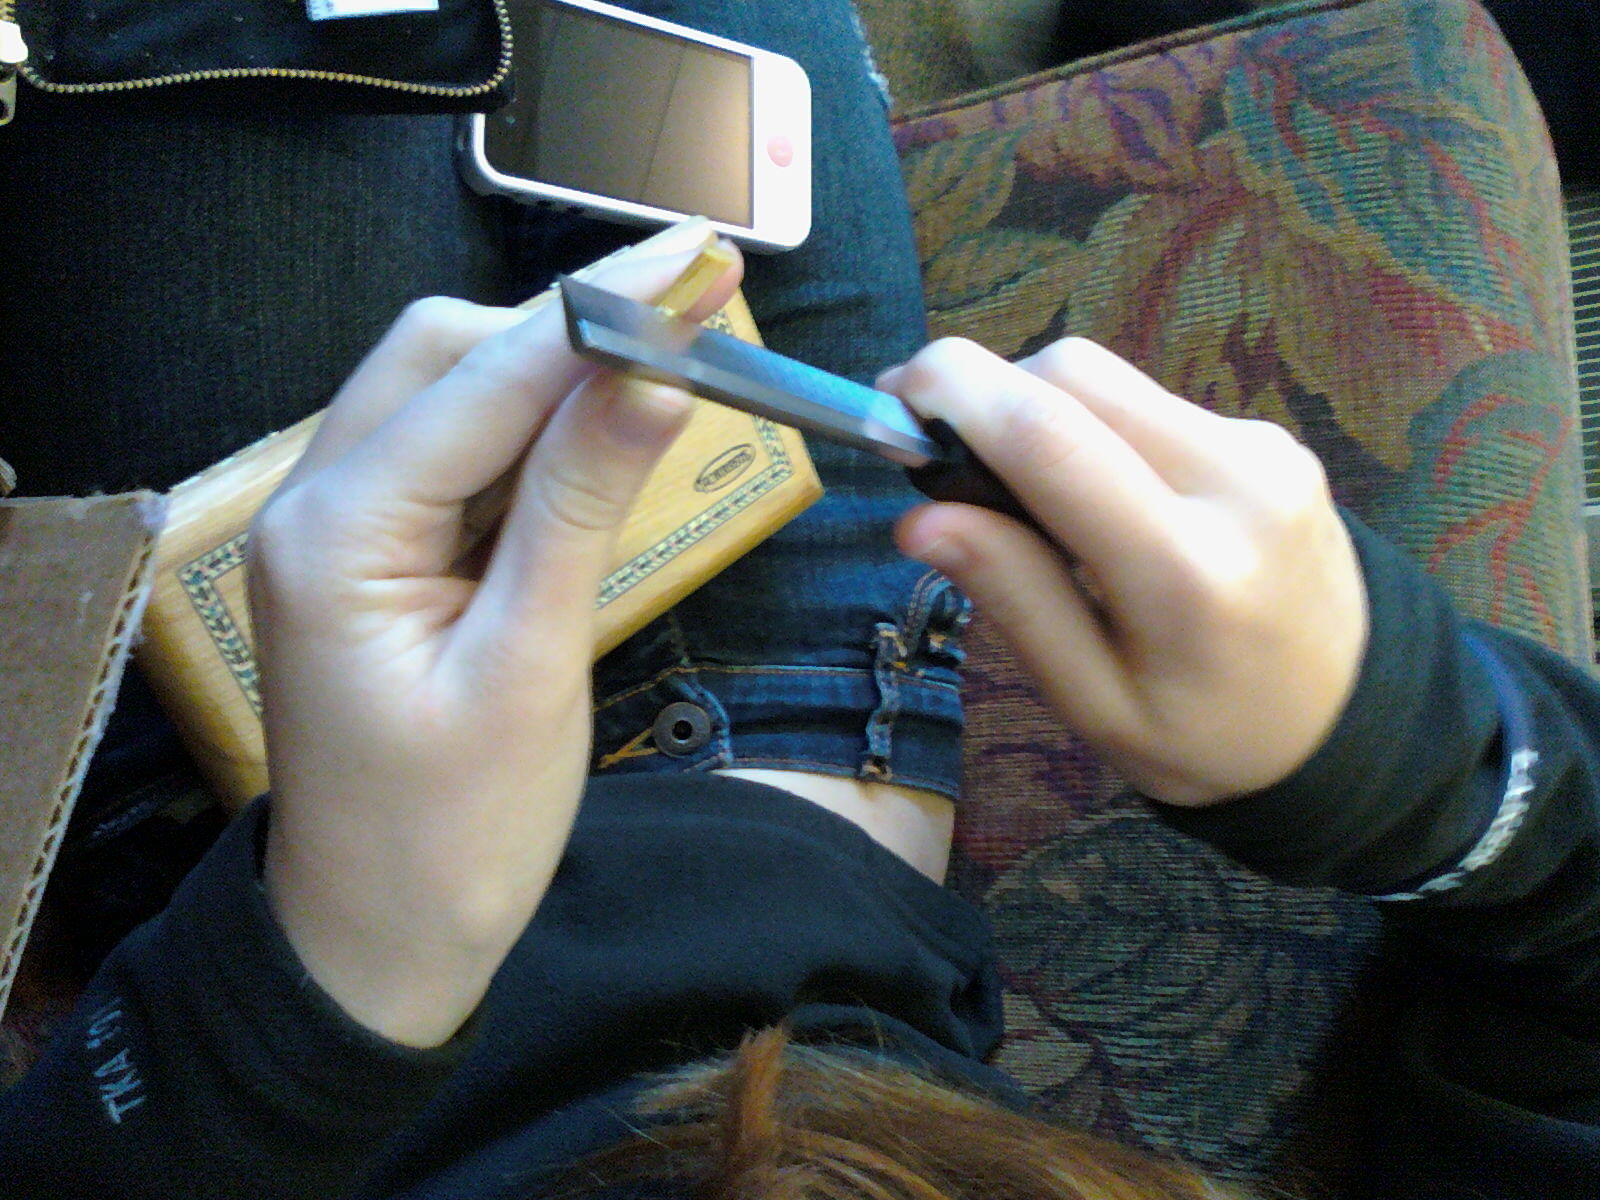
As Julia mentioned before, MCW has many supplies and is where I purchased my knife as well. The knife works very well and I would highly recommend it to anyone. 

Julia mentioned this site earlier, and Forrests is a good resource for a variety of supplies. While browsing the site, I just discovered they also sell this oboe reed making cartoon, illustrated by Bill Bennett....


-Olivia 

Monday, October 31, 2011

Day 4-Practice Practice Practice

In the picture above, I am comparing a work-in-progress reed to a completed reed that I know can play.  I highly recommend having a completed example reed in order to compare where your work-in-progress reed is, and gauge how much further you need to scrape.

I was mainly focused on scraping the tip of my reed today, because it needed to be much thinner before I cut it.

I scrape with a Mark Chudnow Woodwinds knife.  However, if you go to www.forrestsmusic.com they have many reed making tools that you can pick and choose from.

How I scrape:  I am right-handed.  Therefore, I hold the handle of my knife in my right hand.   My right index finger is resting lightly on the sharp part of my knife.  If my left hand, I push my thumb into the smooth side of the knife, and rock my right wrist back and forth.  I hold the reed with the crook of my left index finger.

I don't like scraping on completely dry cane, so I make sure that I have a small water container next to wear I'm working. This way I can ensure that I periodically wet my reed.  I find that if my reed is not at least slightly damp, there's a higher likelihood that it will crack, and you never want that to happen.

-Julia

Day 4 - More Pointers

Today marks the fourth day of the Google Project. Julia and I chose to spend our time scraping and finishing up previous reeds and made a failed attempt at tying a blank. The following are some more pointers on making the blank: 


Soaking the cane for the blank as well as an unfinished reed.  I cannot stress how important it is to make sure the cane is soaked before tying a blank, and before scraping. It helps to have some sort of water container handy to periodically dip reeds/cane in.  
In order to tie a blank, the string must be tied securely to some  sort of object (we used the band locker this time). At home, I personally use a clamp that can be easily fastened to a desk, like the one shown below. 


The string should be held taut at all times. It is okay to adjust the cane on the staple when tying, just make sure that it is in line with the staple and that the right overlaps the left.
Pulling the string tightly on the first three wraps is extremely important. 

As shown above, the reed did not close completely on both sides. In a case like this, you should not be discouraged and try to adjust the cane so that both sides are completely closed.

-Olivia